I've made lots of red and white Valentines, but at times it's fun to liven things up with other cheerful colors....
The greeting card directly below started with a print made with my 6" x 6" stencil Bamboo Wall. I used the same stencil in making the pink and blue vertical embellishment.
Small Tangled Pods (6" x 6") is the mask I used in printing the blue and purple background on the Valentine below. Having some textured pale-gold paper on hand, I decided to cut a heart-shaped hole in it and glue the heart's leftovers at a diagonal across the card cover.
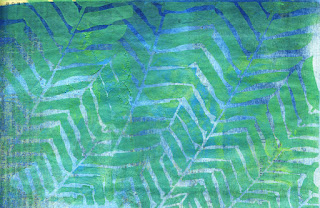
The three-dimensional heart on the below card was printed with my 4" x 4" Palm Fronds Silhouette Stencil Mini.
On the multi-layered Valentine below, I started with a print made with Webbed Medallion (6" x 6" mask.) Over that, I printed orange acrylic paint through my 9" x 12" mask Facets. My last-step embellishments included a frame, assembled from scraps of old textured papers, and green hearts paper-punch cut from an old piece of sheet music stained green. The very top heart, red and yellow, is a three-dimensional element.
Small Tangled Pods (6" x 6") is the mask I for printing the background of the card below. This background is two-toned because I used an old calendar photo as my substrate. Over the print, I added three 3-dimensional hearts.
I used three more 3-dimensional hearts on the multi-layered Valentine below. The background's starting point was a print made with my 6" x 6" Quilted Flower Garden. Over that, I used blue acrylic paint with my 6" x 6" mask Garden at Nemours. Besides the three hearts, the card's embellishment was made with my 9" x 12" stencil Ivy Frame 9.
The orange-and white background below is a print made with my 6" x 6" stencil Mimosa 6. Atop that, I placed some old 3-dimensional elements that include a large 3-dimensional heart, decorated with a paper-punched blue heart.
Today's 3-dimensional hearts are the results of two techniques. One of these techniques is detailed, with step-by-step photos, here. The other technique is to buy the same wooden heart blanks as used here, but instead of covering their tops with stencil-prints or other papers, I've dipped them upside-down into swirls of leftover paints. This makes for similar color schemes and unique designs on each heart.
Thank you for taking time to come to see this blog today! To scroll thru the pages of my StencilGirl stencils and masks, please start here.


