
Often, I enjoy using stencils and masks designed by other designers at StencilGirl Products. These creative designs fascinate me -- I wish I had designed them myself! -- but "if wishes were horses, beggars would ride; if 'ifs and ands' were pots and pans, there'd be no work for tinkers."
One of my favorite designers is Traci Bautista (whom I had the pleasure of meeting in person, many years ago.) It was mostly her stencils -- Soulful Scribbles Let Go (9" x 12") in particular -- that I customized with scissors and used in today's project. Another stencil I used here is Lizzie Mayne's 9" x 12" Scattered Stencil.
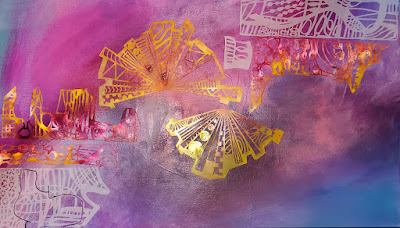
I'll start today's post showing my finished artwork on a large stretched canvas --

Here are the steps that I took....
Having already established a magenta-and-blue background, I moved forward by placing the scissor-customized stencils and masks in a design flowing across the width of the canvas --
 |
| Above: Some of the stencils were already paint-stained from having been used in previous projects. |
The next two photos show a pair of areas on the canvas after I've (1) secured the customized stencils and masks using green masking tape and (2) used a plastic art spatula to spread heavy body gloss gel thru all the stencil and mask pieces:


Below: the stencils and masks have been lifted off (and placed into a water-filled basin so that the thick gel medium won't dry; heavy-body media of this kind, if allowed to dry on stencils, will clop openings. The soak basin keeps that from happening, and holds the stencils until I have time to clean them at the end of the painting session.)
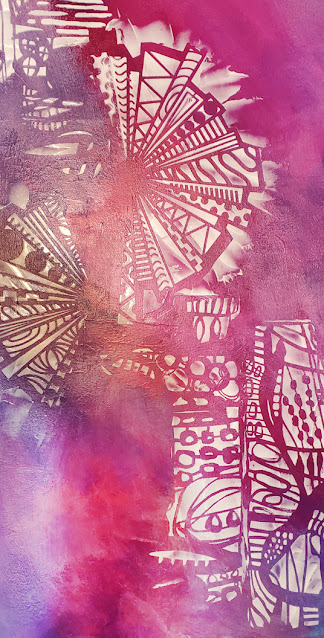 |
| Above: This is a close-up showing a large section of the canvas after the stencils have been lifted off. |
Extra heavy-body acrylic gloss medium, white when first applied, will turn transparent after drying overnight. This is shown in the next photo ....
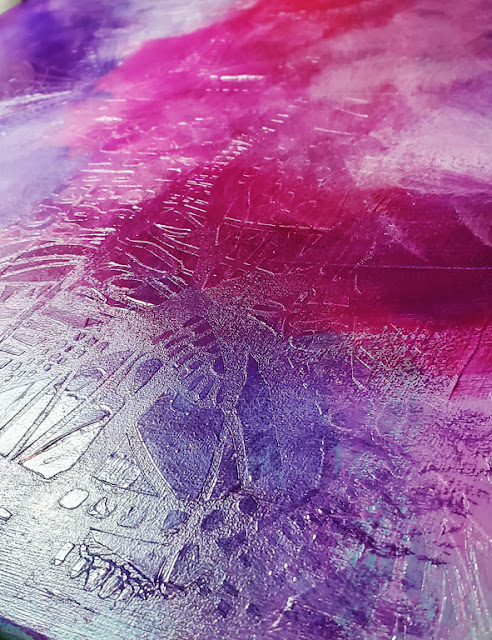 |
| Above: a close-up showing detail after the gel has dried to transparency. |
I started to pour Golden High Flow acrylics across these textured areas ....


... and, as shown above, I thinned the color in some areas and encouraged the colors to run and spread, using a water-filled mister bottle. The photo below shows the entire canvas after this first layer of color (blue) has been added:

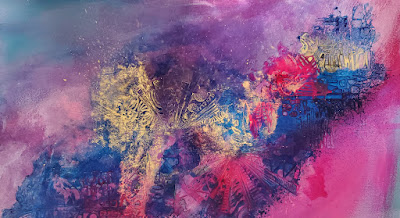
After the blue layer had dried, I introduced Golden High Flow metallic gold. I took the same steps as with the blue -- tipping the canvas and water-spritzing it to keep the gold paint moving into random patterns across much of the surface.
 |
| Above: An area of the canvas with metallic gold added. |
 | |||
|
The finished artwork appears at the top of this post. To sum it up, I applied 3 layers of Golden High Flow, allowing each application to dry before adding the next -- first blue, then gold, then magenta.
Thanks for taking time from your day to check out my blog! To scroll thru the pages of my stencils and masks at StencilGirl Products, please start here.
No comments:
Post a Comment