Friday, June 30, 2017

Artist Gwen Lafleur and NOSEGAY STENCIL


Artist Gwen Lafleur, one of my fellow designers at StencilGirlProducts, has delighted me by choosing -- among many of the StencilGirl choices -- my 9" x 12" Nosegay Stencil in a unique way, which I'm happy to share here.


In the first shot below, Gwen shows her application of gold metallic acrylic paint through selected areas of my stencil; her surface is an elaborate artwork-in-progress showing intricate detail -- which she has created using several StencilGirl stencils. 


Above and below are close-up details showing flowers and stalks made with my stencil.


To see Gwen's full-length step-by-step demo of the technique she used to develop this gorgeous artwork, visit here.

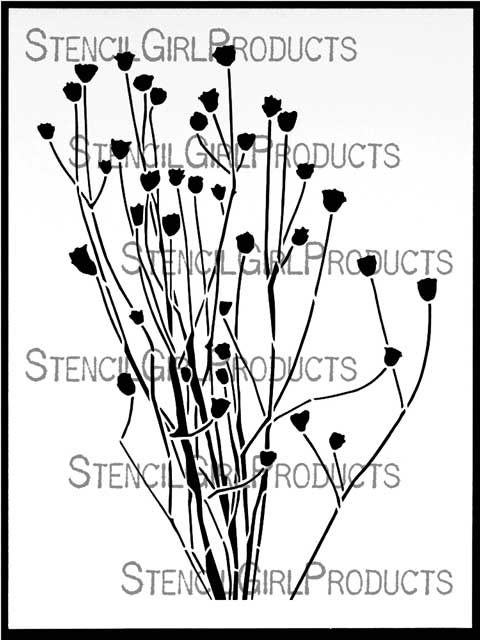
Nosegay Stencil itself looks like this:


You can follow Gwen Lafleur here ... and you can see my full line of stencils here.

Thanks for your visit here today! 

Wednesday, June 28, 2017


They Wuz Framed!


Kids on summer vacation will want something to do on rainy days ... and alternatives to electronic games exist.

Papercraft picture frames, available online from retail outlets like Oriental Trading -- http://www.orientaltrading.com/diy-picture-frames-a2-48_1491.fltr?prodCatId=550188 -- come ready to be decorated.  The type I have on hand is an older style than what is pictured at the above link, with a sturdy cardboard back and a "puffy paper" front, and a built-in easel-prop in the back.  But the process of transformation is the same, regardless of the type of craft frame used.


My first step, shown above,  was to stuff a folded sheet of deli wrap into the frame to protect the inner area while paint is being applied.


Above:  I've used a 1-inch sponge brayer to apply a base boat of acrylic paint.

Looking for a stencil that would yield small areas of color, I auditioned two of my 6"X6" stencils, Marbles 6 (shown on the left, below) and Seaweed 6 (shown on the right, below.)


After choosing Marbles 6 (above left), I got out a color dauber as well as a selection of metallic acrylic paints.


Above:  I've started to apply metallic paint thru the stencil.


Above:  the frame after the first application of metallic acrylic paint.

Above:  A close-up shot during early stages in multiple applications of metallic paint.

Above:  This shot was taken later, as I continued applying paints.


Above:  The final product, after I subdued the metallic paints with another layer of the same acrylic paint used for the base color.  I've added decorative metallic self-adhesive strips and a handmade heart.  This was a birthday gift for a family friend who's an honorary aunt to my grandchildren.  Altho I'm an adult  -- at least in theory! -- this project could easily have been done by children.