
Before discussing figure-ground, I'm announcing that March 3 will bring a release of four new masks I've designed for StencilGirl. Altho the four masks together make a set, each mask is also available individually. Here's a tease cut from one of the artworks I've made with one or more of these masks:

The principle of "figure-ground" contrast can be phrased as a question: “Which part of any silhouetted image is “figure” and which is “(back)ground?” If a silhouette is considered the figure, then the spaces around that figure is considered ground or background.
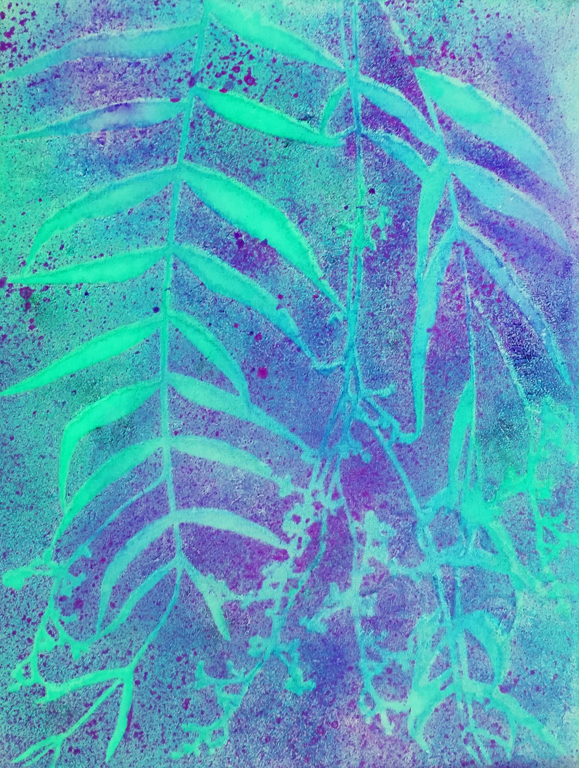
The print below was made with Longwood Florals Mask (9" x 12"). In this print, spaces between the leaves and flowers can be seen as “negative” (or "ground" as in "background."), whereas the leaves and flowers can be seen as "positive" (or "figure.")

The print below was created with the 9" x 12" Longwood Florals Stencil. Its reddish-purple leaves and flowers can be seen as positive space, while the green-spattered white areas can be seen as negative space.
The print below was created with the 9" x 12" Longwood Florals Stencil. Its reddish-purple leaves and flowers can be seen as positive space, while the green-spattered white areas can be seen as negative space.

Since this stencil and this mask are mirror images of one another, it's fun to use them together.
In detailed areas of the image below, positive space and negative space intermingle to challenge the eye of the viewer. The first, darker print was made with Longwood Florals Mask. After that paint had dried, I added a layer of lighter color using Longwood Florals Stencil.

It can happen again when combining my 9" x 12" Winter Berries Stencil and my 9" x 12" Winter Berries Mask.
Below is a first step in a series of steps I took with both this stencil and this mask. This print -- step one -- was made with Winter Berries Mask (and a few glass "pebbles.")

Below is step two. Another layer of color has been added. Here in step 2, I continued to use Winter Berries Mask.

The 2 photos below shows step three. The top photo shows the artwork in its entirety. The photo under it shows a close-up detail.
In developing step three, I first added another layer of paint using Winter Berries Stencil.
After that layer dried, I drew in squiggles with a Sharpie pen. And finally, I painted in most of the squiggle-outlined areas, with opaque black and translucent red, blue, pink, etc.


Today's stencils and masks include:
 |
| 9" x 12" Longwood Florals Stencil |
 |
| 9" x 12" Longwood Florals Mask |
 |
| 9" x 12" Winter Berries Stencil |
 |
| 9" x 12" Winter Berries Mask |
Thanks for taking time to visit here today! The figure-and-ground topic continues in my next post. To subscribe to my blog by email, please use that option in the upper right sidebar.
To scroll thru the pages of my StencilGirl stencils and masks, please start here.
No comments:
Post a Comment