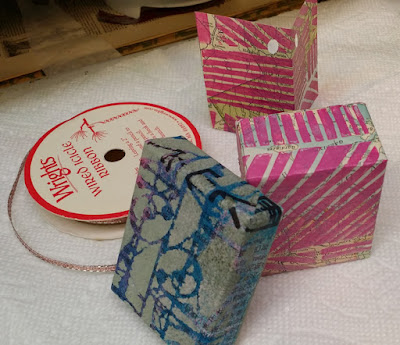
The idea for today's project isn't original, but it's something I never tried before.
I started with a small gift box that came with a matching lid...
Above: On the bottom left is a piece of foreign newsprint that has been stencil-printed on its unseen other side, using my 6" x 6" stencil Ornamental Iron Curls s462. To its right is the gift box lid, which I've coated with acrylic heavy gel medium.
Below: While the gel was still wet, I pressed the gel-covered lid upside-down onto the newsprint.
My next step was use a green marker to draw lines radiating out from the four corners. I didn't bother with math-perfect measurements! I knew I would be trimming off excess paper at the top and bottom.
My next step was use a green marker to draw lines radiating out from the four corners. I didn't bother with math-perfect measurements! I knew I would be trimming off excess paper at the top and bottom.
After cutting off that excess paper, I cut along each of the 4 green lines. Then I started brushing heavy gel medium onto the flaps. As each flag was coated with gel, I folded it up, over the side of the box lid....
The finished box lid -- now right-side up -- appears on the bottom far left in the photo below. As noted earlier, this foreign newsprint had previously been printed on this side with my 6" x 6" stencil Ornamental Iron Curls s462.
In the photo above, at the top left, lies an old map that's been printed with my 9" x 12" Loopy Ladders L434. In the lower right is the bottom of the gift box.
I used the pink-printed map to cover the bottom of the gift box, following the same steps as I had when covering its lid.
Since I had some leftover Loopy Ladders L434-printed paper, I cut a rectangular strip from it to use as a gift tag. That tag appears on the upper right in the photo below; you can see I've folded it into half and used a hole punch on one corner.
Featured today:
Many thanks for taking time to visit my blog!
To scroll thru the pages of my StencilGirl masks and stencils, please start here.
To scroll thru the pages of my StencilGirl masks and stencils, please start here.


No comments:
Post a Comment