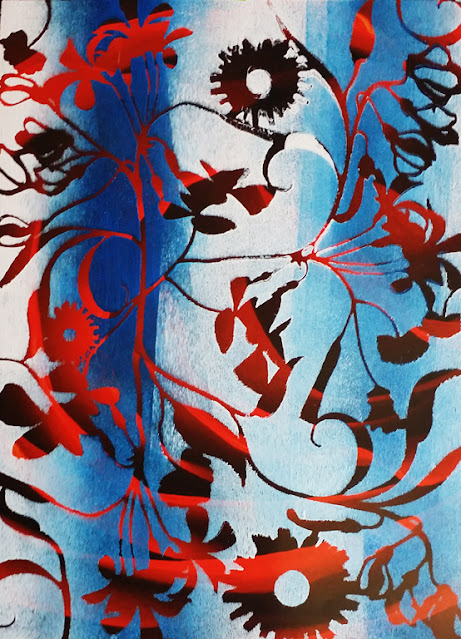
The "rainbow" technique can be done in at least two ways -- with a Gelli Plate, or with a sponge brayer loaded with heavy-body acrylic paint. Today's post features the latter.
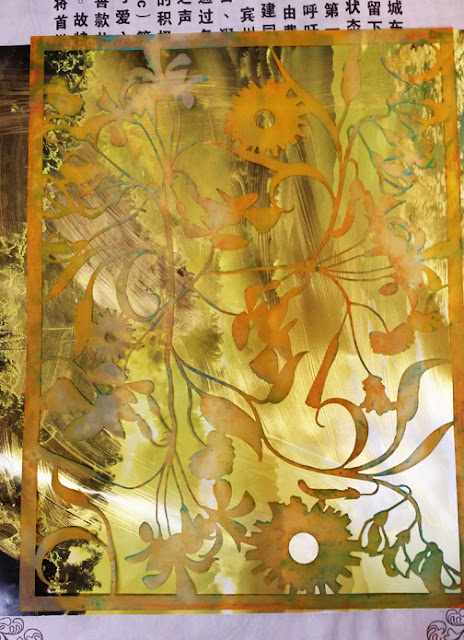
Below: my mask Garden Montage (9" x 12") laid over a metallic gold substrate.
Below: a sponge brayer ready for me to load it with heavy-body acrylic paint in two opaque, side-by-side colors....
 |
| Abiove: The paint has been placed onto palette paper. |
Next: I'm loading the brayer with both colors --
-- and I followed this, using one hand to hold down the mask and the gold substrate, to roll on a layer of paint, top to bottom.....
Having covered the left edge with this two-color application, I flipped the brayer over to start the next downward roll of paint. Flipping means that the blue strip will be widened and a new white strip will be laid down.
Below: the paint application looked like this when finished.
Below, the mask has been lifted so that the gold metallic paper shows thru beneath the stripes of paint.
All of these "rainbow" prints below are simple bi-colors. But a rainbow print can be made using at least 3 colors. Try it!
 |
| Above: Created with 6" x 6" Trivet B stencil. |
 |
| Above: Printed with Garden Montage. |
 |
| Above: Created with 9" x 12" Longwood Florals Stencil and Garden Montage. |
 |
| Above: Created with Garden Montage |
Thanks for visiting here today!
To scroll thru the pages of my StencilGirl stencils and masks, please start here.
To scroll thru the pages of my StencilGirl stencils and masks, please start here.


No comments:
Post a Comment